 |
| source |
I saw this adorable oversized ruler growth chart floating around pinterest and wanted to try making it on my own.
Time commitment:
around 4-5 hours
Cost:
approximately $15
Supplies:
1. Rust-oleum's american walnut stain (I got mine at Lowe's for seven dollars and some change)
2. A 1 x 10 x 6 (I also got this at Lowe's for around five dollars)
3. Black acrylic paint (I used some old stuff I had on hand)
4. Printed numbers 1-6 (I printed my favorite font at 200 pt.)
5. Pencil
6. Measuring tape
7. Paint brush
8. Finishing sander with 100, 150 and 220 grit sandpaper
9. Old rag
I started by sanding my 1 x 10. I started with 100 grit sandpaper and worked my way to the finer 220 grit. I sanded the entire board because I'm slightly OCD, but if you know what side you want to use, then you only need to sand that side. I would recommend sanding all the 1 inch edges as well since sometimes those can have sharp edges or splinters. I was so excited to get going on this that I forgot the camera. Sorry : (
Next I whipped out the Rust-oleum stain and started slapping it on. Please ignore the crazy red head in the photo. I have no idea why she started working in the garage in her pajamas. Crazy woman.

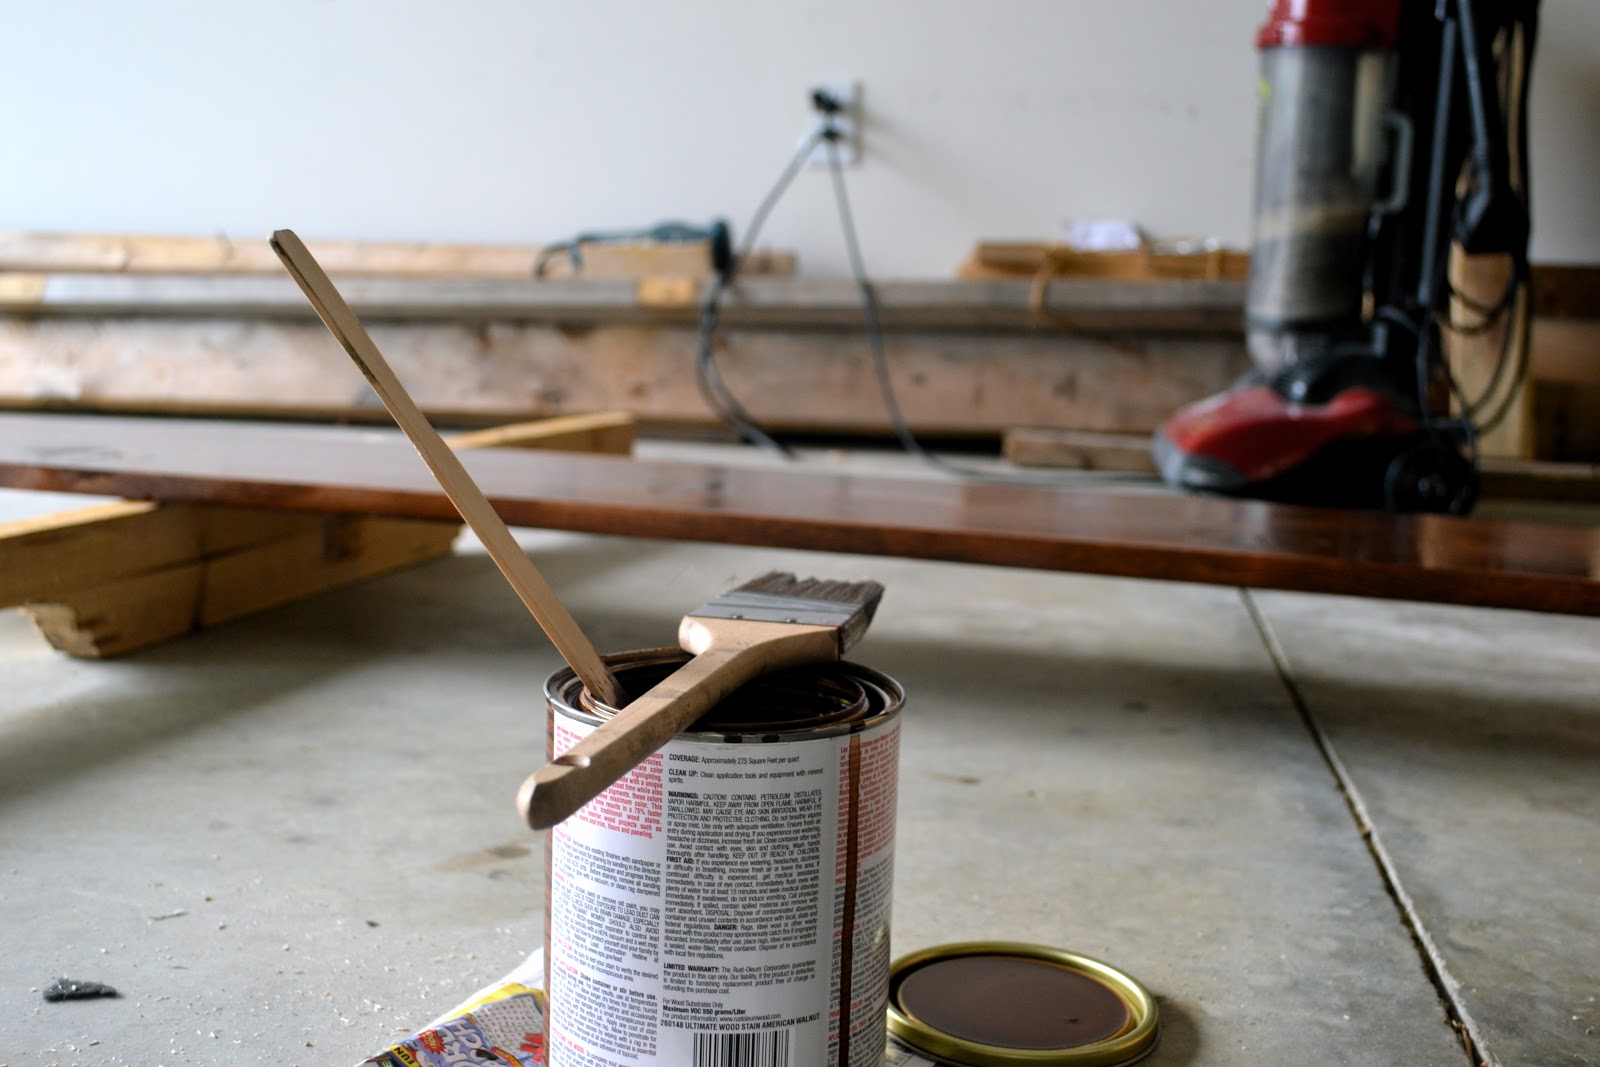
I waited for about 5 minutes before I started to wipe off the excess stain with an old t-shirt (Thanks, Dad).

I went inside to check on Jackson and to grab a snack while I waited for the stain to dry. It only took fifteen minutes or so. Next, I set up the measuring tape next to the 1 x 10 and marked out the tick marks with a pencil. In order to hang it, I needed to start the tick marks at 6 inches (so I could hang it 6 inches from the ground).

After all the tick marks were in place I printed out numbers in my favorite font (size 200 pt.), cut them out and laid them out on the board. Once I had them lined up where I wanted them, I traced over top of the number, making indentions in the wood.

With black acrylic paint, I hand-painted the tick marks and numbers (painting within the indentions I had made in the wood).
Ta-da!

What do you think?


Thanks for stopping by!
You're the most adorable person the face of the planet. I think anyone else attempting cuteness should just step back and take notes. What a great project!!
ReplyDeleteyou got skills and patience!!! I'm very impressed yet again.
ReplyDelete